Dates:
AUGUST 14-20
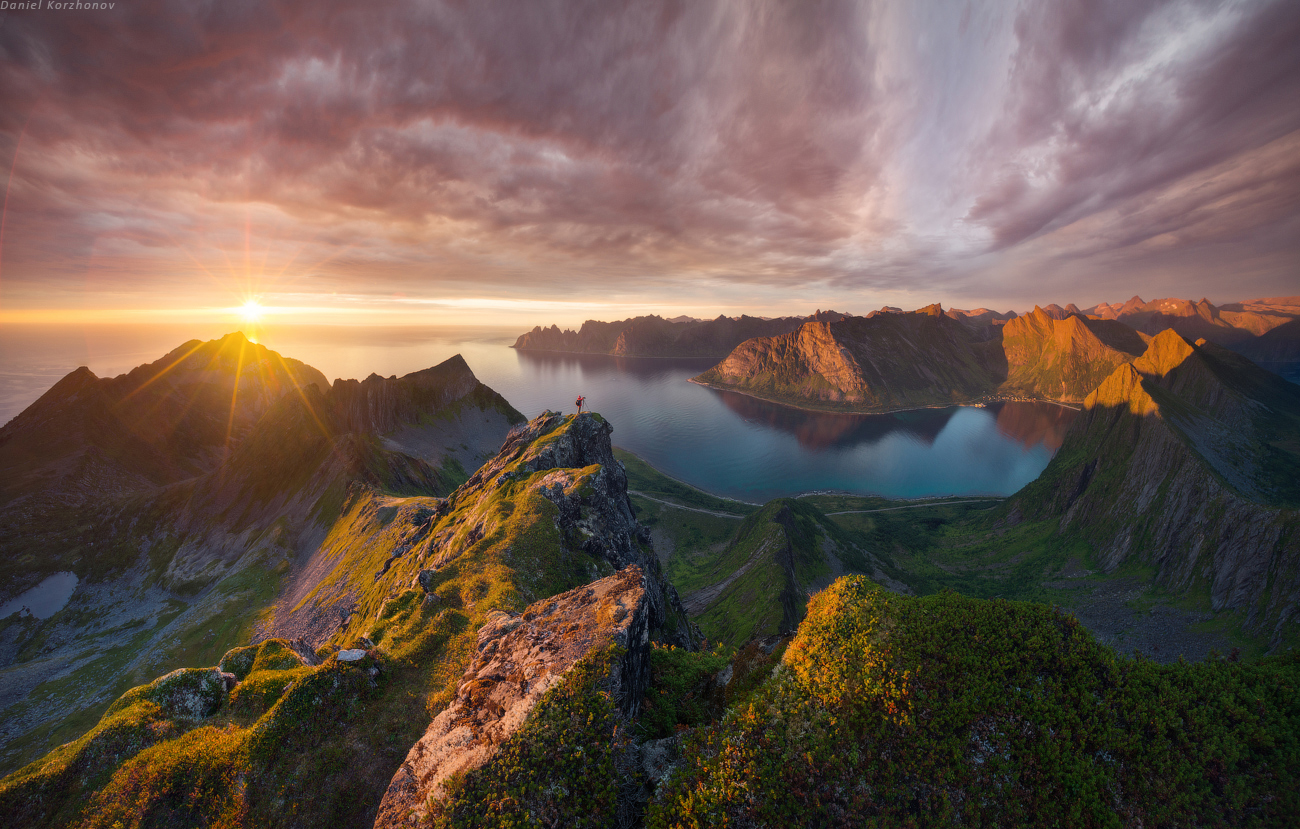
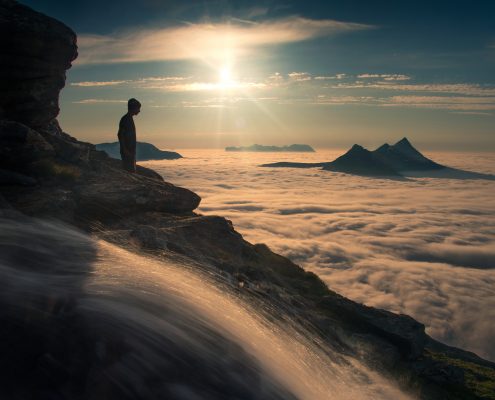
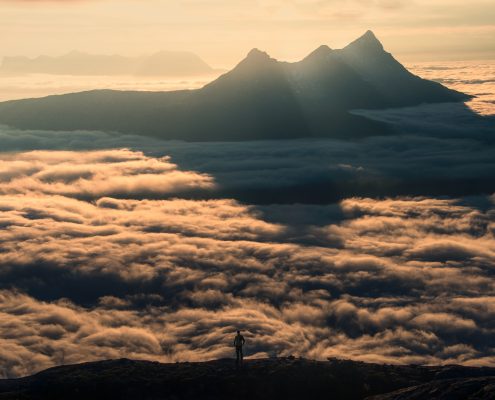
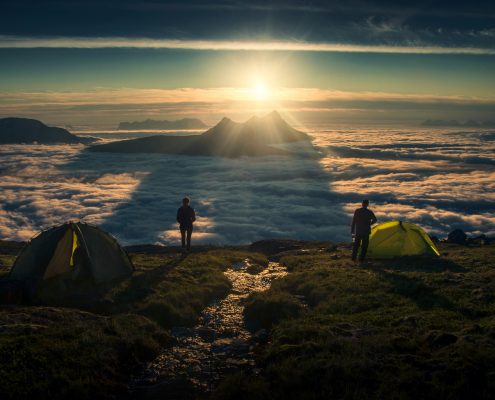
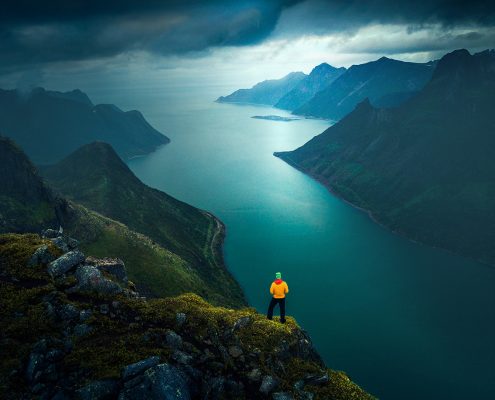
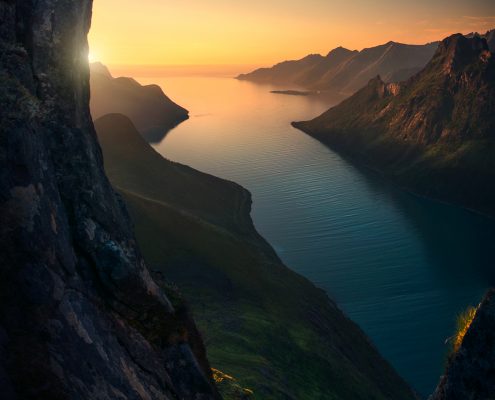
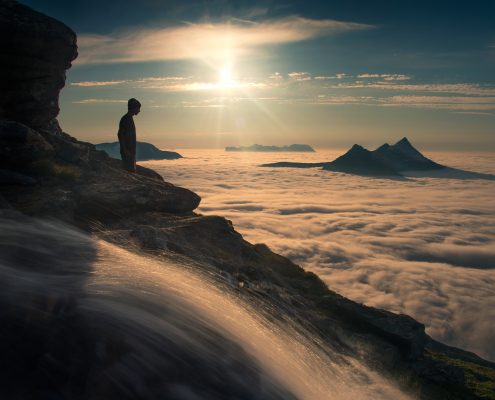
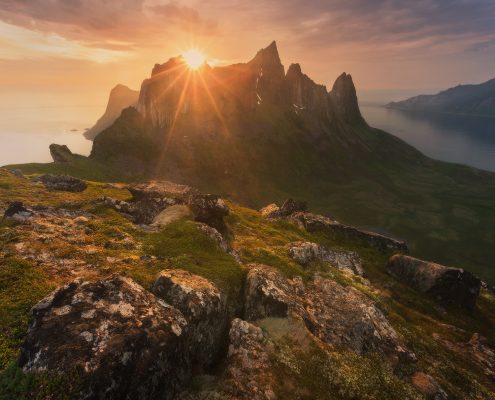
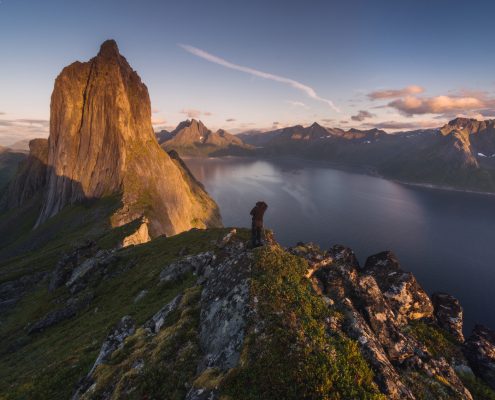
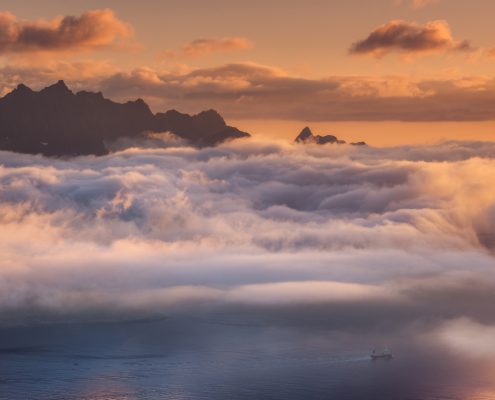
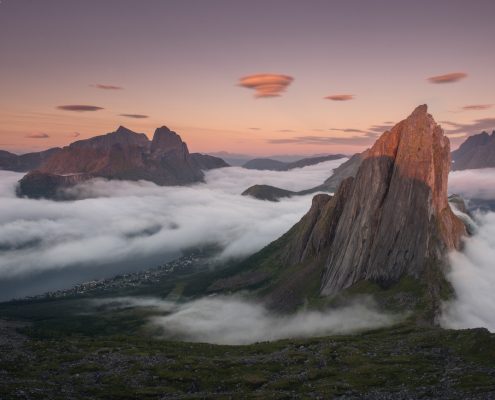
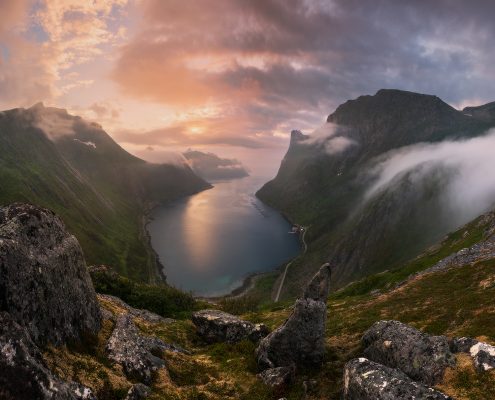
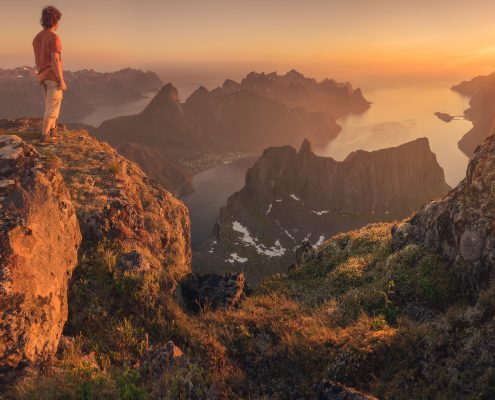
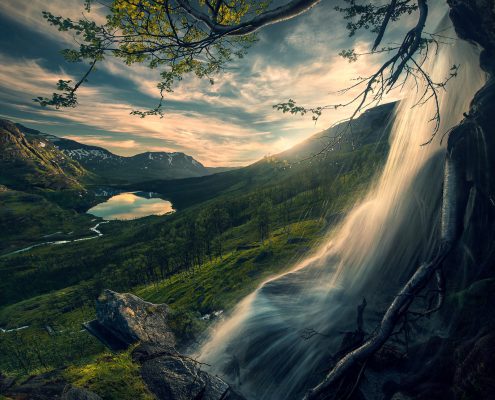
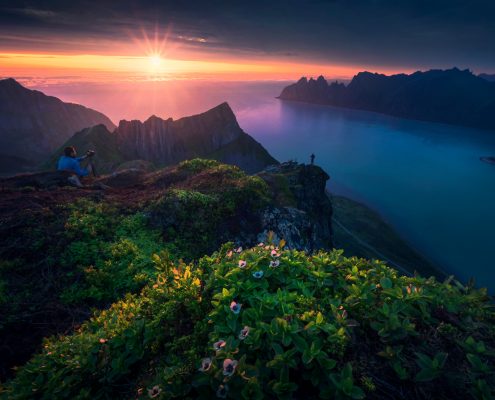
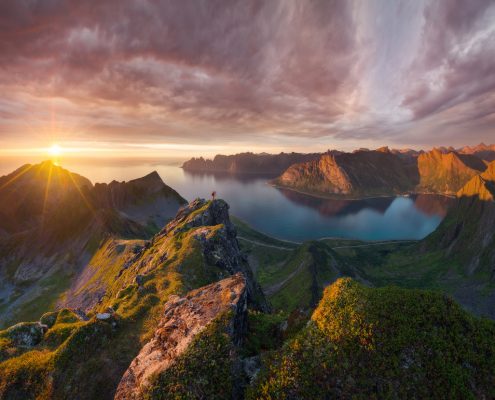
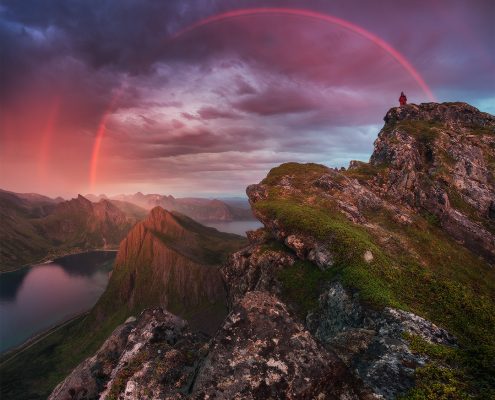
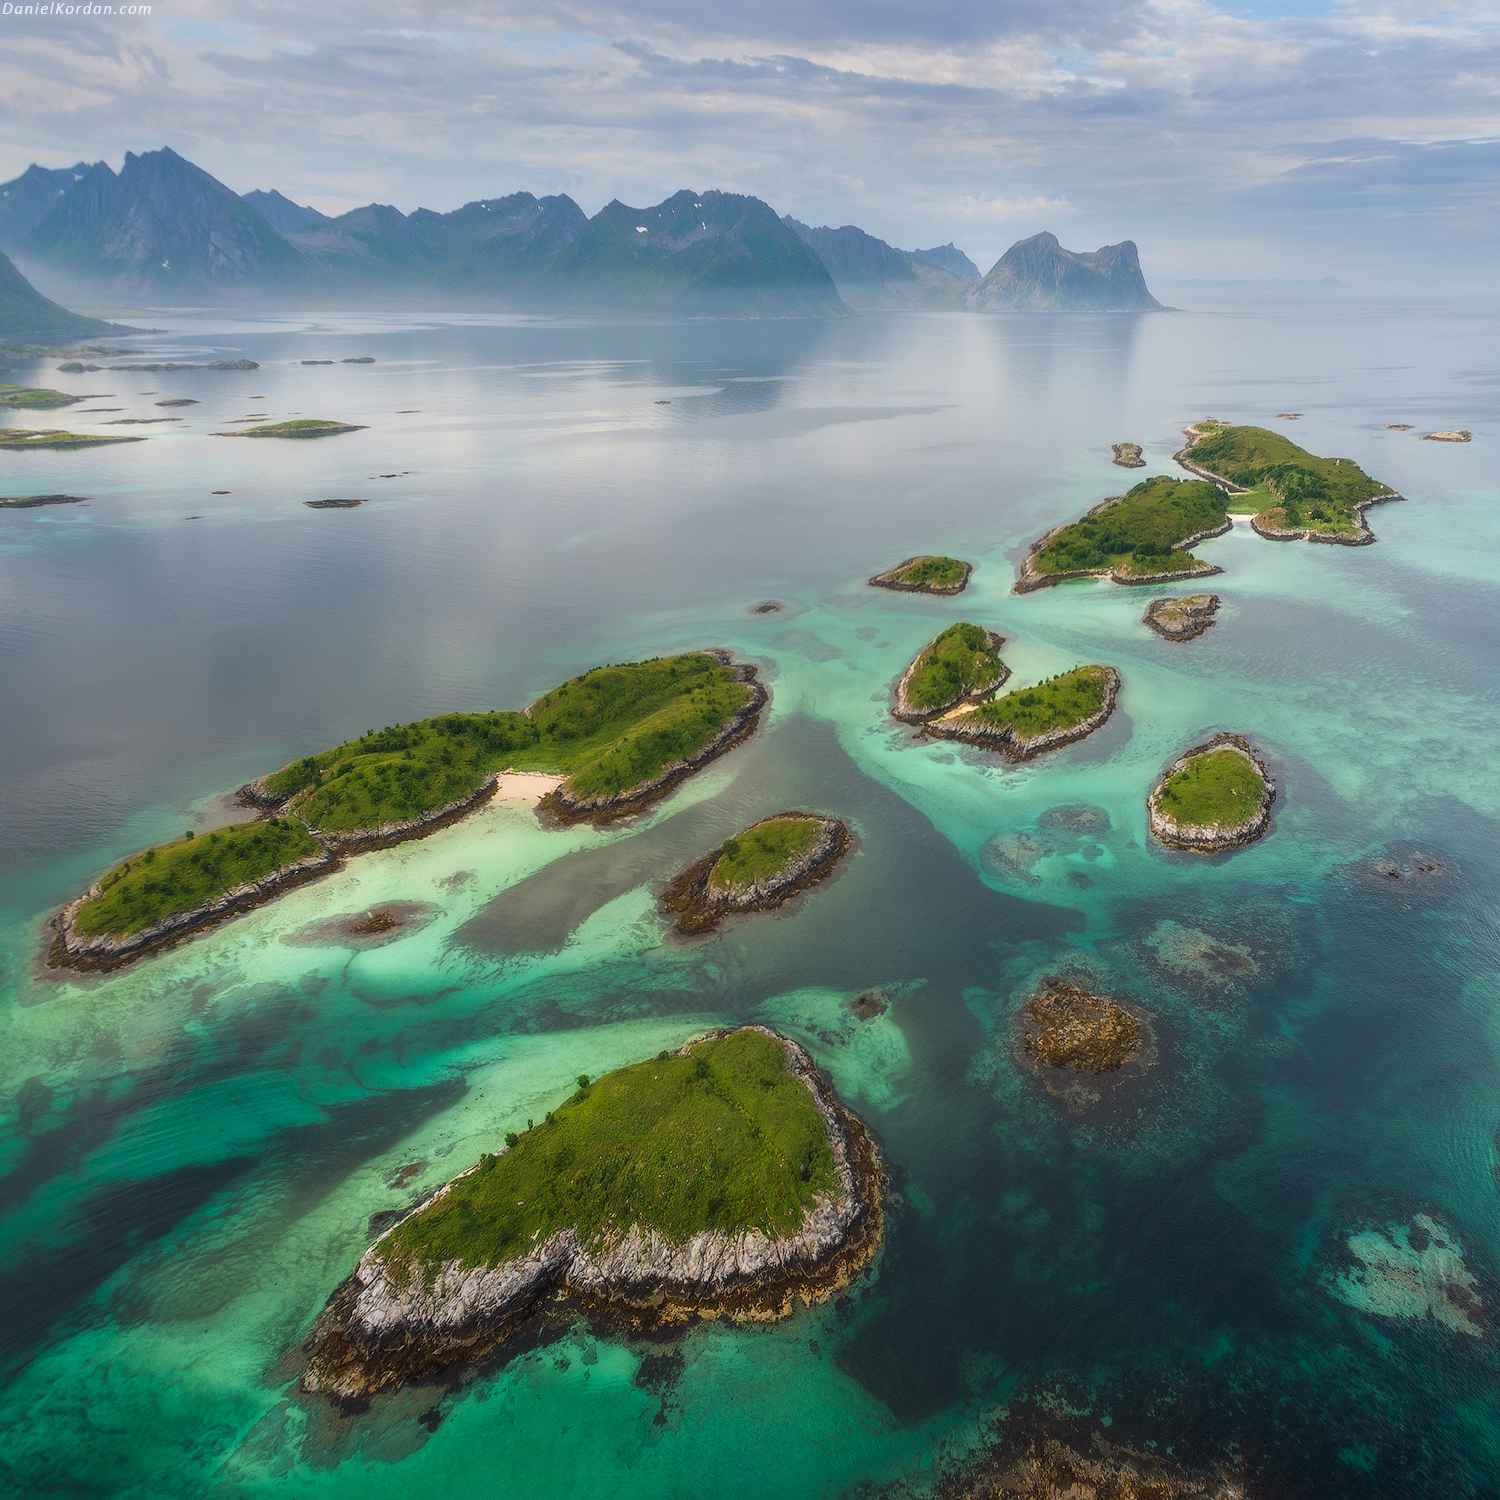
Senja is a paradise for landscape photographer. from above this island in Northern Norway looks like hand. Fingers are amazing rugged and jagged ridges, spaces between are fjords. If you hike any of the ridge, you’ll be met by spectacular views of adjacent fjords and mountains 360*! We’ve chosen the most spectacular time for our hikes – Midnight sun. When sun just rolls over horizon for several hours in the night. We’ll be camping in the most spectacular spots we discovered together with Max Rive at Senja island. Last day will be devoted to post processing sessions – you’ll learn not only on-location scouting and composition techniques, but also post-processing secrets from both Daniel and Max.
Day 1
Arrival day. We meet you on 14 August at Evenes Airport at 1 p.m. Check flysas.com to buy tickets from Oslo to Evenes. We have 2 minivans to transport you to our first hike start.
After greeting each other we will start our 1,5 hour drive to our first location. We will stop along the way for a coffee, snacks and a toilet break.
Our first campsite is easy to reach from the parking place. It will follow a barely visible and unknown hiking trail and will lead us to an amazing viewpoint over the fjords. We will setup our tents and will photograph in close distance to our basecamp. For sunset our group has 2 options, either a 400 or a 600 meter ascent. Views on both viewpoint are breathtaking. We will photograph one of these locations at sunrise as well.
Day 2
After our sunrise session and a well-deserved breakfast, it is time to hike down to our van and drive to a nearby cafe where we will do our first group Post Processing session. After a coffee and a stop at the supermarket it is time to start the 45 min hike to our next campsite. This campsite is located near the ridge with a view over Segla. We will photograph this amazing iconic mountain during sunset and sunrise. All locations are nearby our tents.
Day 3
After another processing session in the village and a beautiful drive along the fjords, we will arrive at the foot of our next location. We first have to hike through rainforest and then arrive to a spectacular viewpoint over fjords and mountains…
Days 4, 5
During both days 4 and 5 we will setup our tents at the best viewpoint in Senja. The hike will last for around 45 min to the campsite and from the campsite it is another 40 minutes to the summit.
Day 6
While we hike down the mountain to our vans, many great photo locations will be visited.
Although the hiking part is over, we will drive to some amazing locations in the area. Today we check in to our amazing accommodation ”Hamn I Senja’ to have some rest, shower and meet together at the dinner and post-processing session. Overnight in hotel.
Day 7
We leave amazing Senja island and drop you off at the Evenes airport at 1 p.m.
Price: 3350 EUR
Included
-Transportation: 2 vans
-Tents (2 persons per tent), though you are free to bring your own
– 1 night in hotel
– Post processing lessons during the entire tour + records
– Food: breakfast, lunch, dinner in-fields
Not included
-Any travel services required prior to arrival at Evenes Airport
-Any taxes, insurances, immigration, duty, visa fees where applicable.
-Extra snacks and (alcoholic) drinks
– dinner at hotel
-Single room at hotel +100 EUR
Max group size: 10 persons
Weather conditions
Senja is known for it’s dramatic and changing weather. If you were in Iceland, you know the thing: the climate is very similar. Although on one hand you should prepare for these conditions, on the other one stormy weather creates incredible nature scenes and sometimes can grant amazing light. The average temperature at Senja is about 10-15 C in the day and +5-+7 in the night. There is a good probability of rain and wind. The schedule and locations are tentative mainly for the weather conditions. Basing on our locations knowledge we will schedule the most appropriate place for shooting according to current or predicted weather conditions.
Fitness level
Is medium to high. It’s a hiking photo workshop. Please see below the distances/elevation. Most of hikes are along a good path. We have to carry a backpack with camera + hiking gear + food (food for couple of days until we come down to van to change location) when we hike towards our campsite. From our campsite we hike only with our camera gear + extra layer of clothes. In between locations we travel by our vans.
Day 1:
Distance to Campsite: 700 m
Elevation Gain: 145 m
Distance to viewpoint A: 2,5 km
Elevation Gain to viewpoint A from the camp: 350 m
Distance to viewpoint B (optional): 3,5 km
Elevation Gain to viewpoint B from the camp: 600 m
Day 2:
Distance to Campsite: 1,5 km
Elevation Gain: 350 m
Distance to viewpoints: very close (all around).
Day 3:
Distance to Campsite: 1,2 km
Elevation Gain: 170 m
Distance to viewpoints: 2 km
Elevation Gain to viewpoints from the camp: 270 m
Day 4:
Distance to Campsite: 2 km
Elevation Gain: 300 m
Distance to viewpoints: 1,4 km
Elevation Gain to viewpoints from the camp: 300 m
Day 5:
Distance to Campsite: 1,4 km
Elevation Gain: 350 m
Day 6:
Distance from Campsite to the car: 2 km
Elevation drop: 300 m
What to bring
Wear
• comfortable clothing. Its better to take several items using the “onion-principle”. If you are getting colder then you can put on another layer. If you are moving fast at location – then you can take one layer off.
• waterproof jacket and pants. If it is raining a little bit we may still be in the fields, so the upper layer must be waterproof.
• waterproof hiking boots
• casual clothing for the hotel stay (may be left in the van)
Gear
• camera equipment (DSLR with manual control of
shutter speed, aperture and ISO settings and allowing you to use Live View). All marks of camera are welcome: I have experience to work almost with every brand, so you may always rely on my help with camera settings.
Please bring extra batteries (I bring 4-5).
• lenses: the most needed lens is 16-35 or 17-40 (full-frame). You may use ordinary circular or square filters with these lenses. Althought 14 mm (or 14-24 mm) lenses are very useful especially for northern lights shooting. Telephoto is not necessary
• hiking tripod (gitzo traveller recommended). I recommend ballheads with Arca Swiss system and L-plate mounting
• remote cable shutter release
• laptop for editing with software: Lightroom and optionally – Photoshop, may be left in the locked van
• filters. Shooting at the sea means you should properly work with the shutter speed. I recommend polarizer, ND 3, 10 stop and GND 3 stop soft.
• chargers, spare CF/SD cards
Tour leaders
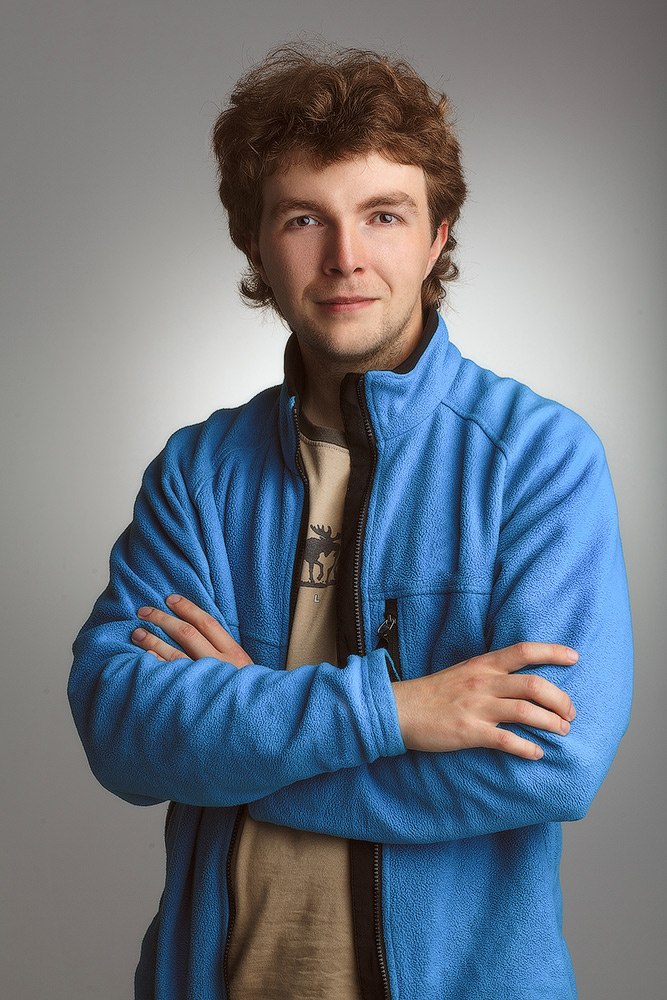
Daniel Kordan
I studied in Moscow institute of Physics and Technology and became an optics physicist. During the study he gain experience not only in physics, but also in mountain climbing and hiking, guiding tourist groups in winter and in summer in Russian mountains. Right after graduation he became a guide of photo-workshops and chief editor of “Continent expedition” magazine. This magazine is about travel and adventures all over the world. He has got several awards in photography: Golden Turtle’ 13 Nature nomination winner, National Geographic Russia contest 2013 and 2014 finalist, Best of Russia’13 and ’14 winner, best photographer’13 finalist and others. He is spending most of his time in Norway, Lofoten islands and in Tuscany at villa Gaia, guiding groups of photographers. Daniel has pulications in such mahazines as Digital SLR Magazine, UK, Photography week, Photography Master Class, National Geographic, Discovery, Photoworld China, Digital Photo (Bauer Media) magazines. Daniel is official Nikon ambassador.
Max Rive
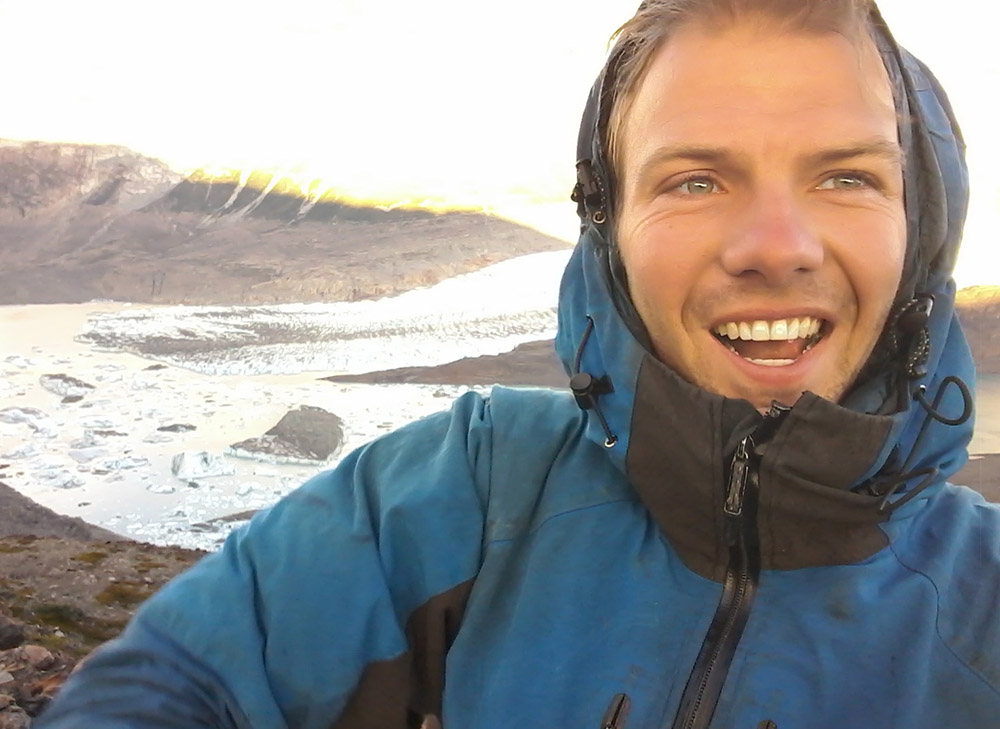
Max Rive is a landscape photographer from the Netherlands, specialized in mountain and adventure photography. He started taking photos in 2008 just to document a mountain trip he did between studies. Max took photos to remember the trip, show others how cool it was and to have something more to do than only hike. Even though he kept using small compacts for the first 4 years, and was more a hiker with a camera than a real landscape photographer, Max was VERY motivated to get some great shots. He gradually become more serious as a real landscape photographer when he started sharing photos on the internet and got more inspired by the work of others.

